
Guide
Building out a canopy
Last reviewed
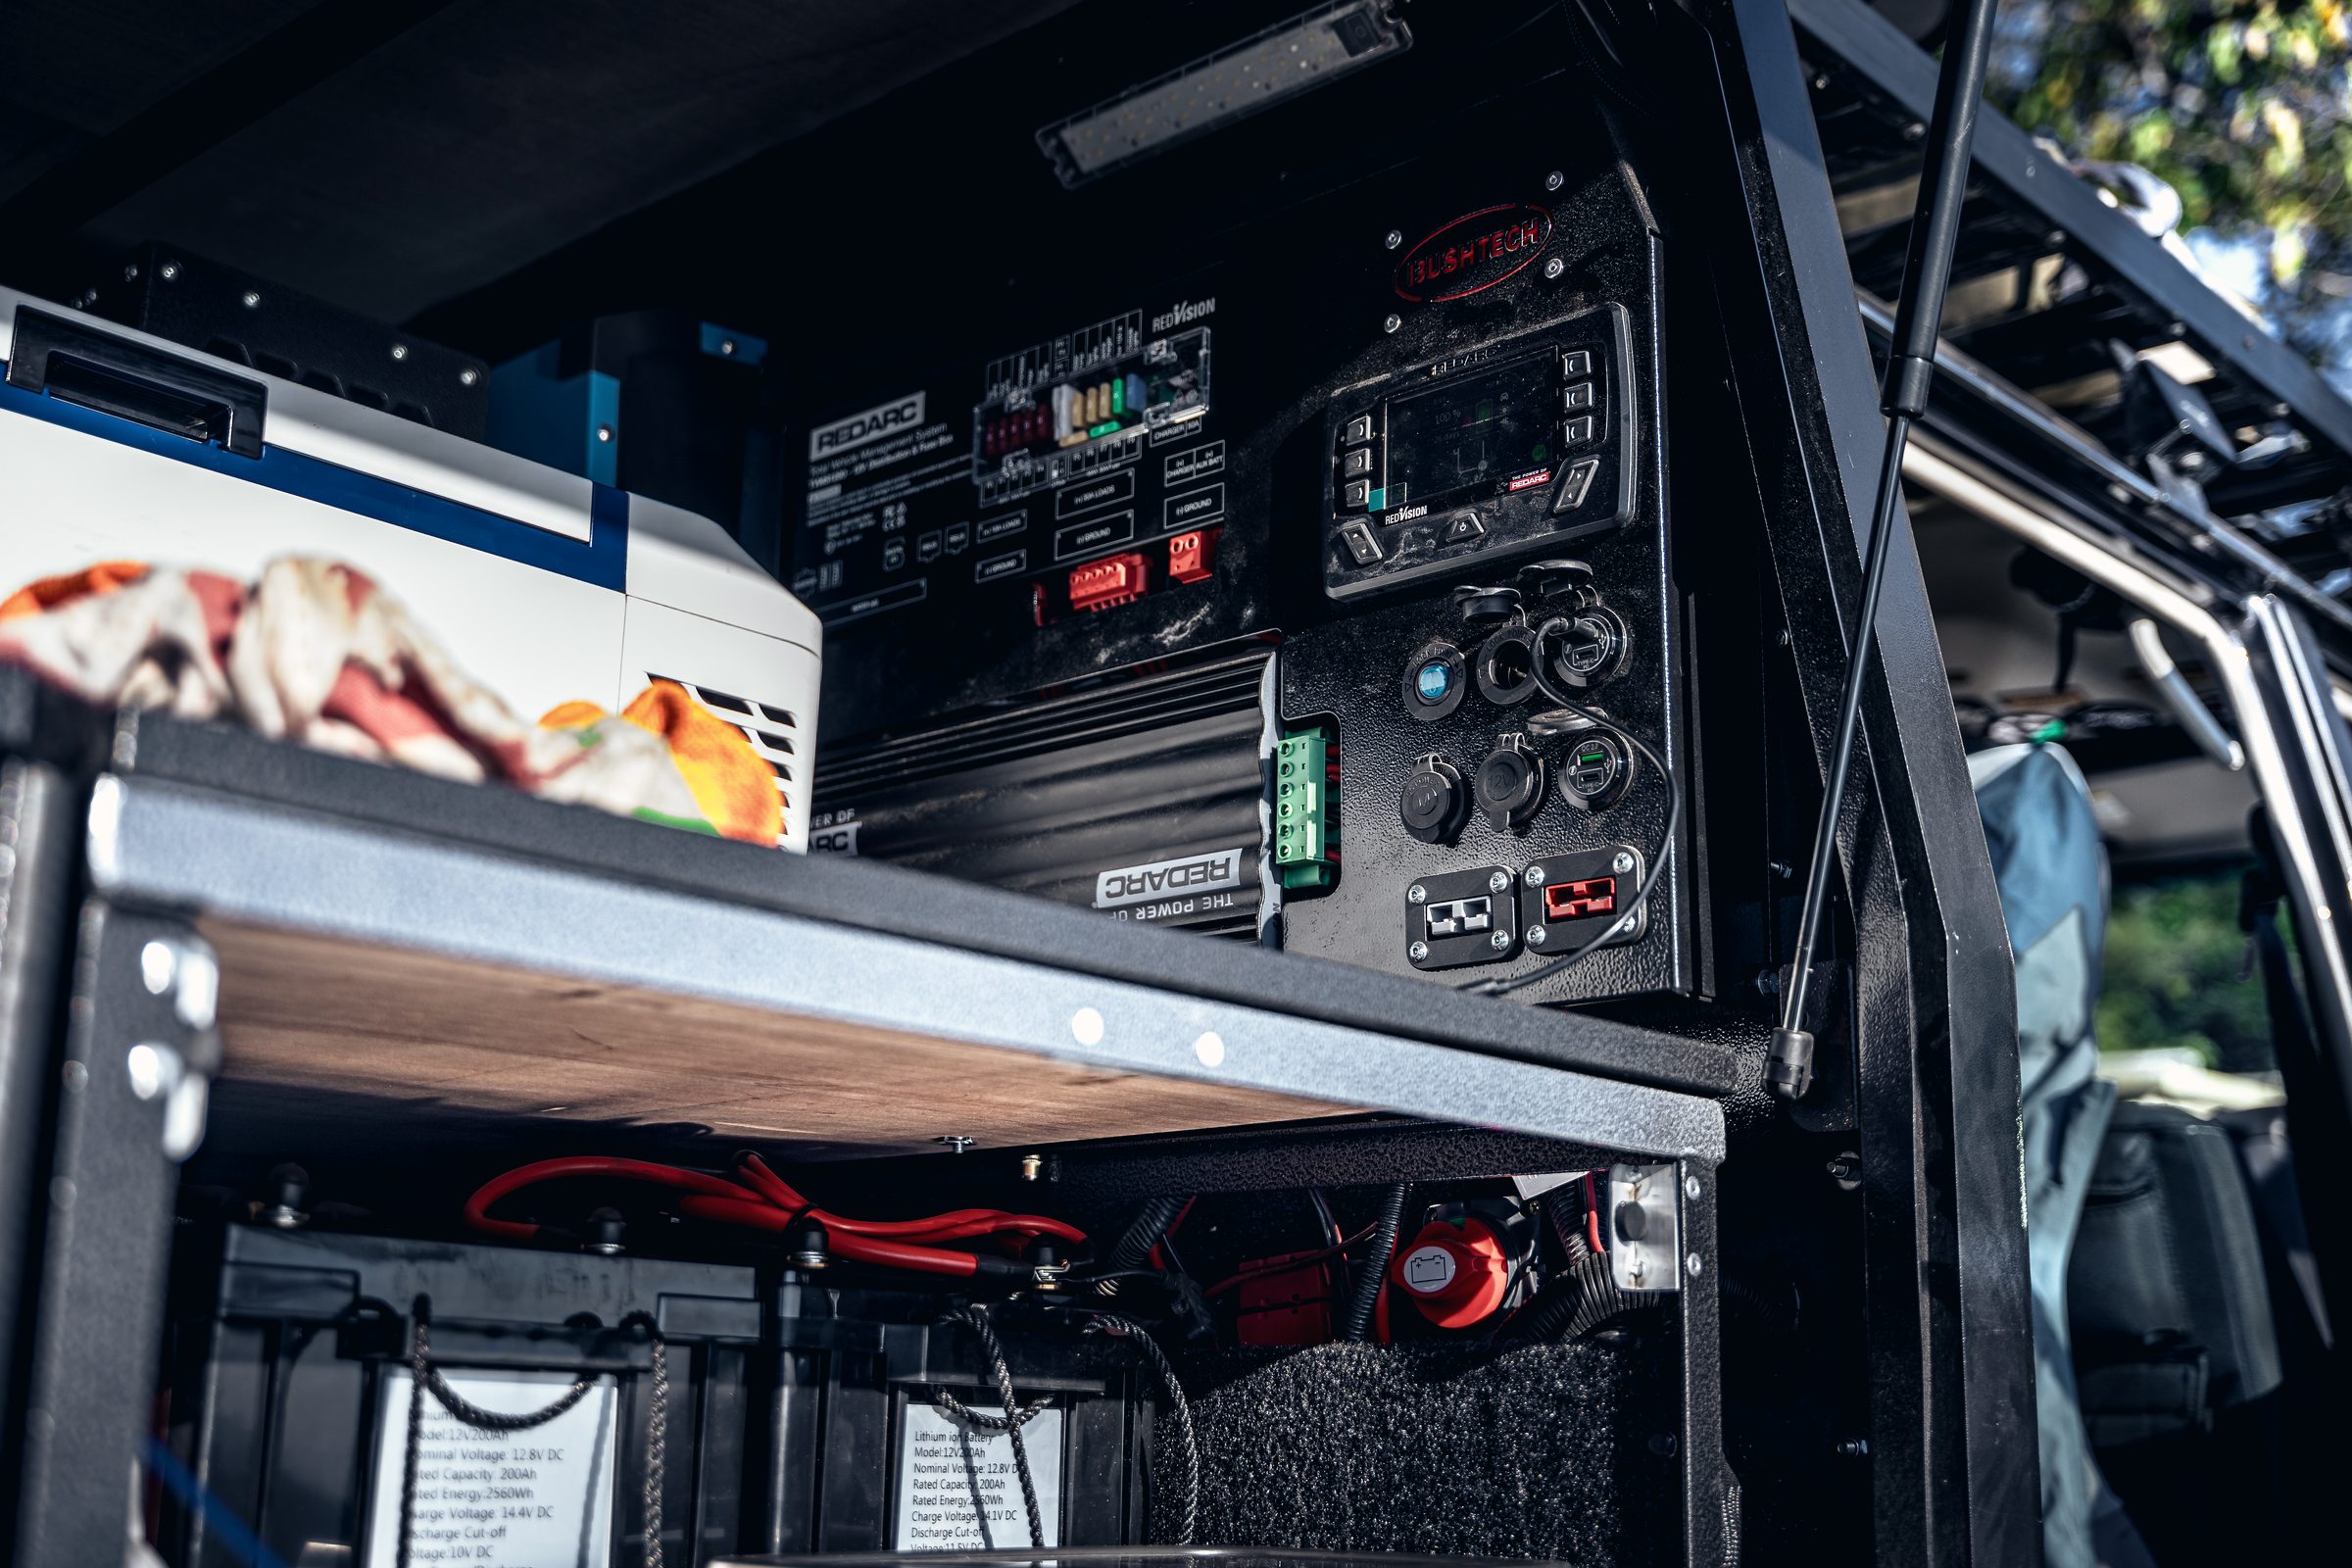
Most canopy builds that disappoint were planned around what fits rather than around how the trip actually runs: where you stop, what you reach for first, and what you do in the dark.
Start with the number that governs everything
Before you choose a single drawer, find out what you are allowed to carry.
Your vehicle has a gross vehicle mass (GVM). Subtract what the vehicle weighs as it stands and what is left is your payload: people, fuel, water, food, recovery gear and every accessory you bolt on. A canopy, a drawer system, a fridge and a full water tank can use a large share of that before anyone climbs in.
Two things people get wrong here.
The canopy’s rating is not your limit. Canopy makers publish load ratings, often one figure for when the vehicle is moving and a higher one for when it is parked. The rating tells you what the canopy can hold. It says nothing about what the load bin underneath it, or the vehicle’s GVM, will allow. One maker says exactly that in its own documentation: the canopy’s capacity may be more than the bin can take. The lowest of those numbers is the one that counts.
Water is heavy. A litre of water weighs about a kilogram. Eighty litres is eighty kilograms, before the tank, the fridge or the drawers.
The law is short and blunt about the load itself: goods on a public road must be contained within the body of the vehicle or securely fastened to it, and protected from being dislodged. Everything in this guide is built around that.
A canopy adds weight to the vehicle and takes it out of your payload. If you are unsure whether your build changes what your licence disc describes, ask your registering authority before you assume.
Choosing the canopy itself
The shell is the one decision you will live with longest, so decide it by how you will use it rather than how it looks.
Steel. Strong and repairable almost anywhere. Heavy, which you pay for in payload every kilometre.
Aluminium. Much lighter for the same size, which is why most purpose-built touring canopies use it. Look at how the frame is built and how the doors seal, not just the sheet thickness.
Fibreglass. The factory-style lid or canopy. Light and tidy, usually with less access and less strength for mounting things to the inside.
What to look at, whatever the material:
- Side access. Gull-wing or lift-up side doors change how you use the whole space, because you can reach the middle of the bin without climbing in.
- Dust and water sealing. South African gravel finds every gap. Ask how the doors seal and how the canopy seals against the load bin.
- Mounting points inside. If you plan to hang panels, shelves or lights on the walls, you need something solid to fix them to.
- Roof load. If a rooftop tent or rack is going on top, the same moving-versus-parked rating logic applies, and the vehicle’s payload still sets the ceiling.
Your fitment centre partner can show you what fits your specific bakkie and how each option is mounted.
Drawers and slides

A drawer system turns the floor of the load bin into two things: a level deck on top and organised storage underneath that you reach from the tailgate.
Why it is worth it. Everything heavy sits on the floor, low and restrained, which is where it belongs. Nothing slides around. You open a drawer instead of unpacking the bin.
What to decide before you buy.
- Drawer length and depth, against what actually goes in them. Recovery gear, tools and the kitchen box are the usual tenants.
- One wide drawer or two narrow ones. Two drawers let you keep the kitchen on one side and the heavy gear on the other.
- Locking. Drawers that lock both open and closed. A drawer that runs out on its own on a slope will hurt someone.
- The weight of the system itself. Drawers are furniture made of metal and board. That weight comes off your payload too.
Fridge slides. A slide lets the fridge come out past the tailgate so you can open the lid without climbing in. Two checks matter more than any others: the slide’s rated load has to be more than the fridge’s full weight, not its empty weight, and the slide must lock both extended and stowed. Every maker rates its own slide, so read the figure for the one you are buying.
Slide-out kitchens. A slide or drawer that carries the stove, a prep surface and the cooking kit, so the whole kitchen comes out in one movement. The important word there is out. See the gas section below.
Lay it out by how the trip runs
This is the part people skip and regret. Before you fix anything down, list what you reach for and when.
| Reached | What |
|---|---|
| Reached every stop | Water, the fridge, snacks, the first-aid kit, a torch or headlamp. |
| Reached every camp | The kitchen, chairs, table, lighting, the stove, the cooking box, the grey water container. |
| Reached when it goes wrong | Recovery gear, the compressor, tools, spares, the tyre repair kit. |
| Reached rarely | Spare clothes, bedding for a different season, the long-stay supplies. |
Then place them.
- The tailgate end is for what you use at every camp: the fridge on its slide, the kitchen drawer, the cooking box.
- Side doors, if you have them, are for what you grab at every stop without opening the back: water, snacks, the first-aid kit.
- The front of the bin, low down, is for heavy things you rarely need: spare water, recovery gear, tools. Heavy and forward keeps the weight between the axles rather than behind them.
- Up high and on the walls is for light things only: soft bags, towels, lights, the paper towel. A heavy item stored high moves the centre of gravity up, which you feel on every corner and on every side slope.
Two rules hold the whole layout together.
Everything heavy is restrained. A loose jerry can or battery in a sudden stop keeps travelling forward at the speed the vehicle was doing. Straps, tie-down points and proper mounts are not optional extras.
Everything has one home. If it can live in two places, it will end up in neither. That is how people spend twenty minutes looking for the tyre gauge.
The kitchen

A camp kitchen that works has four parts: a flat surface at a sensible height, the stove, the cooking kit and the washing up. Get all four reachable from one place and cooking stops being a chore.
The prep surface. A slide-out kitchen, a tailgate-mounted work shelf or a folding table. What matters is height and stability. A surface at the wrong height gives you a sore back by day three.
Cutlery and utensils. Divided drawer inserts or a canvas roll, so nothing rattles and everything is visible. Rattling is not just an annoyance. On corrugations, a loose drawer of cutlery wears through its own container.
Pots, pans and the cooking box. A single crate that comes out in one lift beats pots scattered across three drawers.
Washing up. A grey water container, a collapsible basin and somewhere for wet things to dry. Grey water goes into a container and is disposed of properly, never into the veld or a river.
The 12V oven. A 12V oven runs off the vehicle’s auxiliary power, so you can heat food without gas. Two things to know. Any appliance that makes heat is a heavy electrical load, so it needs a properly sized auxiliary system and cabling to match. And it connects through an Anderson plug, so the plug on your system needs to match.
Gas: the part that has to be done properly

Gas is the fastest way to cook at camp, and it is the one thing in the canopy that can kill you if it is handled carelessly. None of the rules below are complicated.
Safety
Cook outside. Always. Gas stoves burn oxygen and produce carbon monoxide, which you cannot see or smell. The manufacturer of one of the most common camp stoves in the country prints it in capitals: for outdoor use only, and never in a tent, caravan, car or similar space. A closed canopy is exactly that kind of space. Slide the kitchen out and cook in the open air.
Keep the cylinder upright and secured. LPG cylinders are made to be stored, carried and used upright. On the cylinder you will find arrows pointing up. If a cylinder lying on its side leaks, liquid gas escapes rather than vapour, and that is much more dangerous. Strap it so it cannot fall over, roll or be struck by anything else in the load.
Give it ventilation low down. LPG is heavier than air. A leak does not rise and escape, it pools on the floor of whatever it is in, and it can be ignited some distance from where it leaked. That is why the South African standard for LPG calls for low-level ventilation, and why a cylinder does not belong in a sealed box. Many people carry the cylinder outside the canopy altogether, on a dedicated mount.
Check for leaks with soapy water. Paint soapy water over the valve and the connections and watch for bubbles. Never use a flame.
Look after the hose and regulator. Replace hoses that are cracked or brittle, and replace worn regulators. Check every connection is properly tight before you open the valve.
Turn it off at the cylinder. If you smell gas, close the cylinder valve first. Never leave a lit stove unattended.
Do you need a permit to carry it? For a private person carrying gas cylinders bought for camping, no. The South African standard for transporting dangerous goods exempts private individuals carrying retail-packed goods for personal or leisure use. That exemption covers the paperwork, not the physics. Everything above still applies.
The fridge
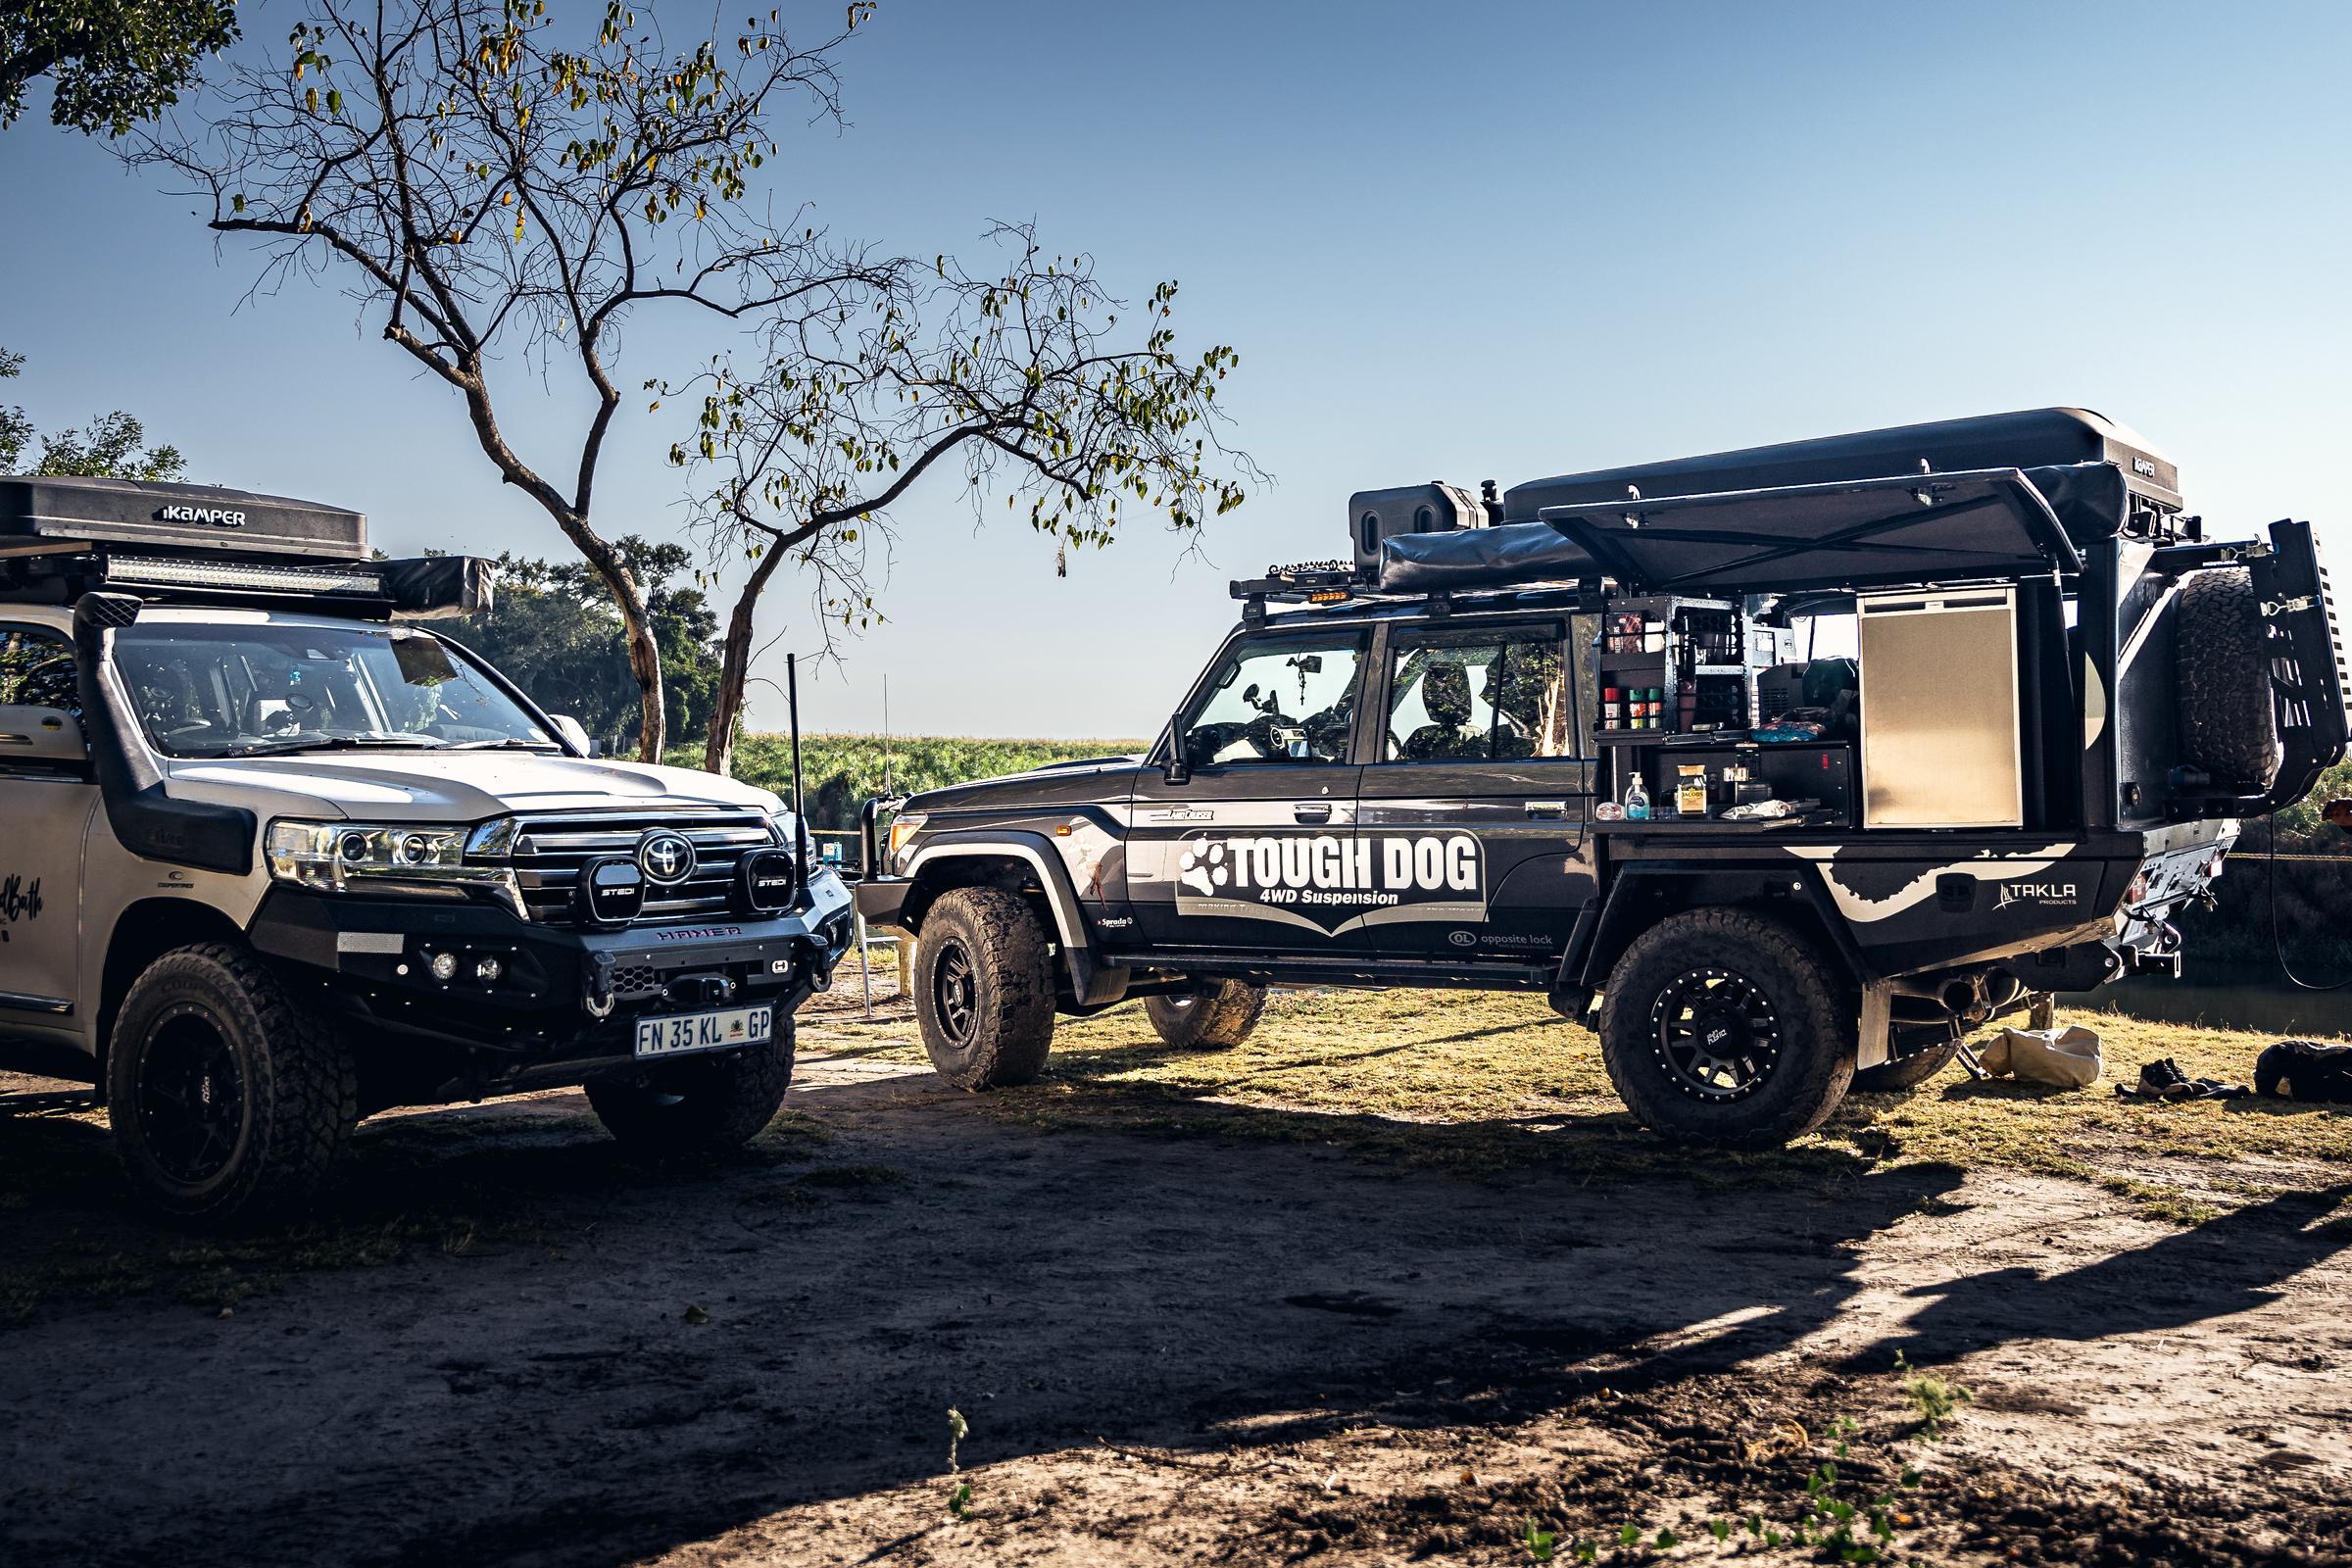
The fridge is usually the heaviest single thing you will reach for every day, so it gets the best position: at the tailgate, on a slide, low down.
Give it room to breathe. A compressor fridge pushes heat out through its vents. Boxed in tightly, it runs harder, uses more power and can shut itself down. Manufacturers are specific about this. One asks for at least 50 mm of clear space on all four sides. Another asks for 100 to 200 mm around the compressor end. Whatever fridge you have, read its manual and leave at least that much.
A closed canopy gets hot. On a hot afternoon with the doors shut, the fridge is fighting the air around it. Ventilation in the canopy, or opening it up when you stop, makes a real difference to how much power the fridge uses.
Tie it down properly. Use a proper mounting plate or tie-down straps. With a ratchet strap, do not over-tighten it. A fridge cabinet can be crushed by its own hold-down.
Wire it properly. Fridges are sensitive to voltage drop over a long cable. One fridge maker’s rule of thumb is 1 mm² of cable for every metre from the battery, with a minimum of 4 mm², and a fuse close to the battery. A canopy is a long way from the engine bay, which is why that matters here more than anywhere.
Pack it well. A full fridge holds temperature better than a half-empty one. Pre-chill everything before it goes in.
Power in the canopy

The dual-battery guide covers how the system works and how to size it. This section covers only what changes when the battery and electrics live in the canopy.
Why the battery ends up back there. Many modern engine bays have no room for a second battery. The canopy gives you space, keeps the battery away from engine heat, and puts it right next to the fridge and the lights it feeds. The trade-off is a long cable run from the alternator, which is why a DC-DC charger is the usual answer for canopy installs.
Know your battery’s rules, and follow them. Different chemistries ask for different things.
- Lead-acid and AGM batteries can give off explosive gas, especially when charging. Manufacturers say not to put them in a sealed compartment and to keep sparks and flames away.
- Lithium iron phosphate batteries are sealed, but a damaged or overcharged one can release harmful gases, and they have their own limits. One manufacturer asks for 20 mm of clearance on all four sides, says never to mount it terminals down, and gives a temperature range for charging. Follow the numbers for the battery you actually have.
Mount it as if it will be in a crash. A heavy battery that breaks loose in an accident becomes a projectile. That is a manufacturer’s word, not ours. A proper tray or bracket, bolted to structure, is the only acceptable answer.
Fuse at the source. Every positive cable gets a fuse as close as possible to where the power comes from. If a cable is cut or rubs through and touches metal, the fuse is what stops it becoming a fire.
Size the cable for the distance. Long runs need thicker cable, or the charge you are trying to move is lost as heat along the way. Intervolt’s own minimums for its DC-DC chargers are 6 mm² for a 1 to 5 metre run and 10 mm² for 5 to 9 metres.
Plan the negative, too. The return path matters as much as the positive. Run a proper negative back to the battery or to a sound chassis point, as your charger’s instructions specify. Ask the fitter how it has been done on your vehicle.
One panel, not a nest of wires. A 12V panel mounted in the canopy gives you switched, fused outlets in one tidy place: the fridge, lights, USB charging and a socket for the compressor. It is also where you look first when something stops working.
Anderson plugs, and why the colours matter. Anderson SB connectors come in colour-coded housings that are keyed so different colours cannot be plugged into each other. That lets you keep, for example, the fridge circuit and a higher-current circuit physically separate so the wrong thing cannot be connected.
An isolation switch. A battery disconnect switch lets you kill the auxiliary system completely when the vehicle is parked for a while or being worked on.
This is the part of a canopy build that should be a professional installation. Cable sizing, fusing, mounting and routing all have to be right, and a fault back there tends to show itself on a gravel road a long way from help.
Light where you need it
A canopy without light is a black hole after sunset. Two kinds of light solve it.
Inside the canopy. Small interior lights on the canopy roof or walls, switched from the 12V panel, so you can see into drawers without a headlamp in your mouth.
Around the vehicle. A work light over the tailgate or on the side lights up the kitchen and the camp. Amber light is popular around camp because many people find it easier on the eyes at night.
A build order that works
If you are doing this in stages, do it in this order. Each step makes the next one easier to get right.
- 01Weigh the vehicle as it stands, so you know what payload you really have.
- 02Choose the canopy for access and sealing.
- 03Fit the drawers and fridge slide, which set the floor for everything else.
- 04Install the auxiliary battery, charger and 12V panel. It is far easier before the walls are full.
- 05Add the kitchen, the gas mount outside, and the water.
- 06Add lighting and the wall storage last, once you know where you actually stand when you cook.
- 07Pack it for a real trip, then weigh it again.
Talk to someone who fits this for a living
The layout is yours to decide. The canopy mounting, the battery, the wiring and the gas mount are the parts worth handing to a fitment centre partner, who does this every working day and will check it against your specific vehicle and payload.
FAQ
Frequently asked questions
How do I stop my canopy from overloading my bakkie?
Weigh the vehicle before you start, subtract that from the GVM to find your real payload, and count everything that goes into the build: canopy, drawers, fridge, water, battery and gear. The canopy's own load rating is not your limit. The load bin and the vehicle's GVM are.
Can I cook inside my canopy?
No. Gas stoves produce carbon monoxide and burn oxygen, and stove manufacturers are explicit that they must never be used in enclosed spaces such as cars, tents or caravans. Slide the kitchen out and cook in the open air.
How should I carry a gas bottle in my bakkie?
Upright, secured so it cannot fall, roll or be struck, and with ventilation at low level, because LPG is heavier than air and pools where it leaks. Many people mount the cylinder outside the canopy altogether. Check the fittings with soapy water, never a flame.
Do I need a permit to carry gas cylinders for camping?
Not as a private person carrying retail-packed cylinders for your own leisure use. The dangerous-goods transport standard exempts that. The exemption is about paperwork. Safe stowage still applies.
Where should the fridge go in a canopy?
At the tailgate, low down, on a slide that locks open and closed and is rated for the fridge's full weight. Leave the ventilation clearance its manufacturer asks for, and tie it down without over-tightening the strap.
Can I put a lithium battery in the canopy?
Yes, and it is a common place for one. Mount it securely enough to hold in a crash, keep the clearance and orientation its manufacturer specifies, fuse the cable close to the source, and use a DC-DC charger to cope with the long cable run from the alternator.
What should go where in a canopy?
Heavy items low and forward, between the axles. Things you use at every camp at the tailgate. Things you use at every stop behind the side doors. Light things only up high or on the walls. Everything restrained, and everything with one home.
Last reviewed